How to Analyse Ground Penetrating Radar Data
How-To
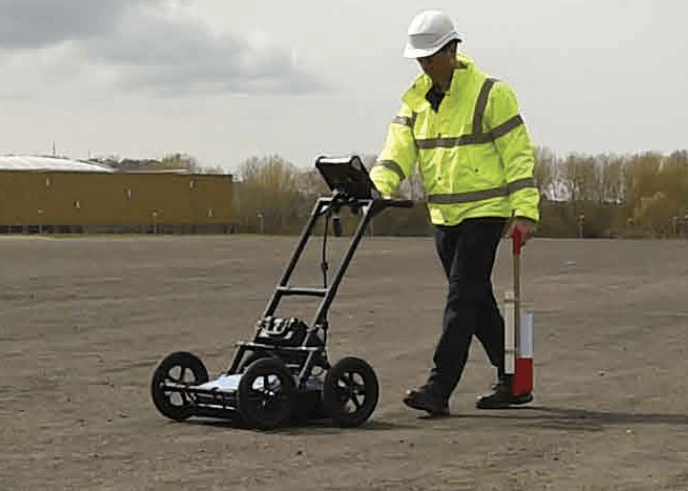
The best method of detecting cracks or faults in a concrete slab or structures like rebar under the surface is to use a ground-penetrating radar.
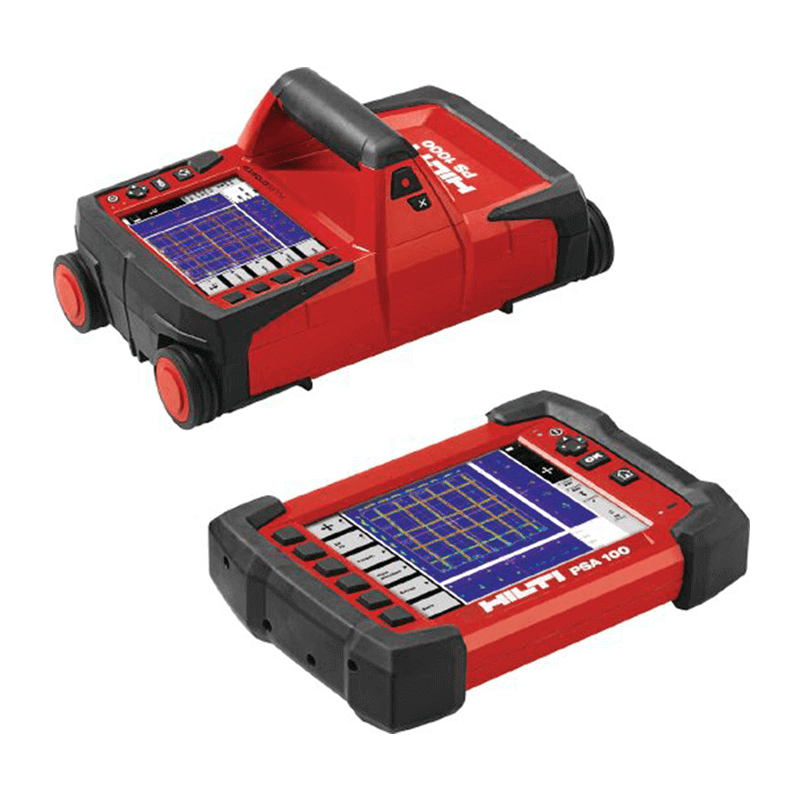
The Hilti PS1000 is most suitable for detailed concrete scans. You can use it for mapping out particular sections of a slab, or the entire thing.
So you’ve scanned your surfaces and collected all the information on your Hilti PS1000 ground penetrating radar. Now it’s time to analyse it.
If you have any questions about our equipment or need advice on the best equipment to use, the team at your local Kennards Hire branch should be able to help you.
Want more information on the Hilti PS1000 ground penetrating radar? Visit your local branch, and check out our full range of test and measure equipment.
Steps
Step 1 - Choose your device
You can hook up the Hilti PS1000 directly to your personal computer. From there, you’ll be able to analyse the data on-screen.
However, it’s simple enough to use the Hilti PSA100 tablet included in the kit. For this guide, we’ll be running through how to analyse the data from the tablet.
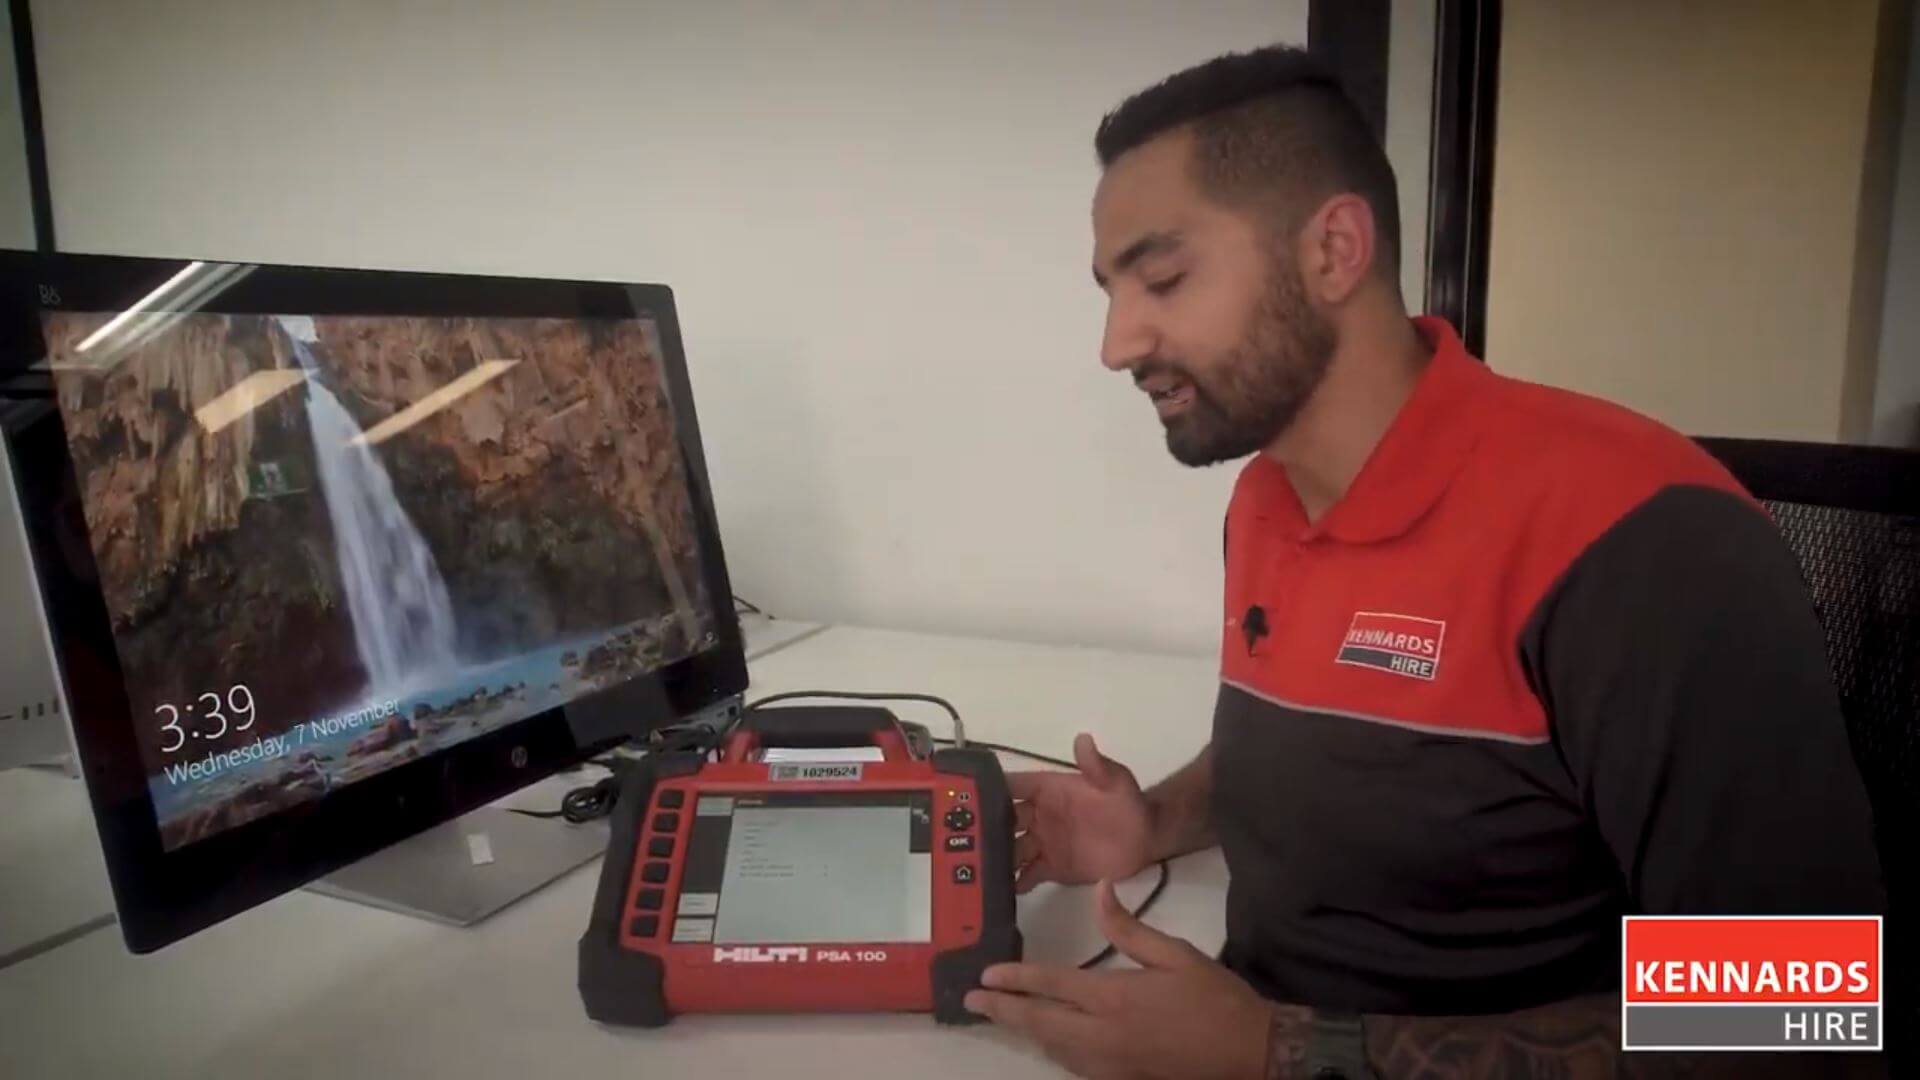
Step 2 - Create a project and import data
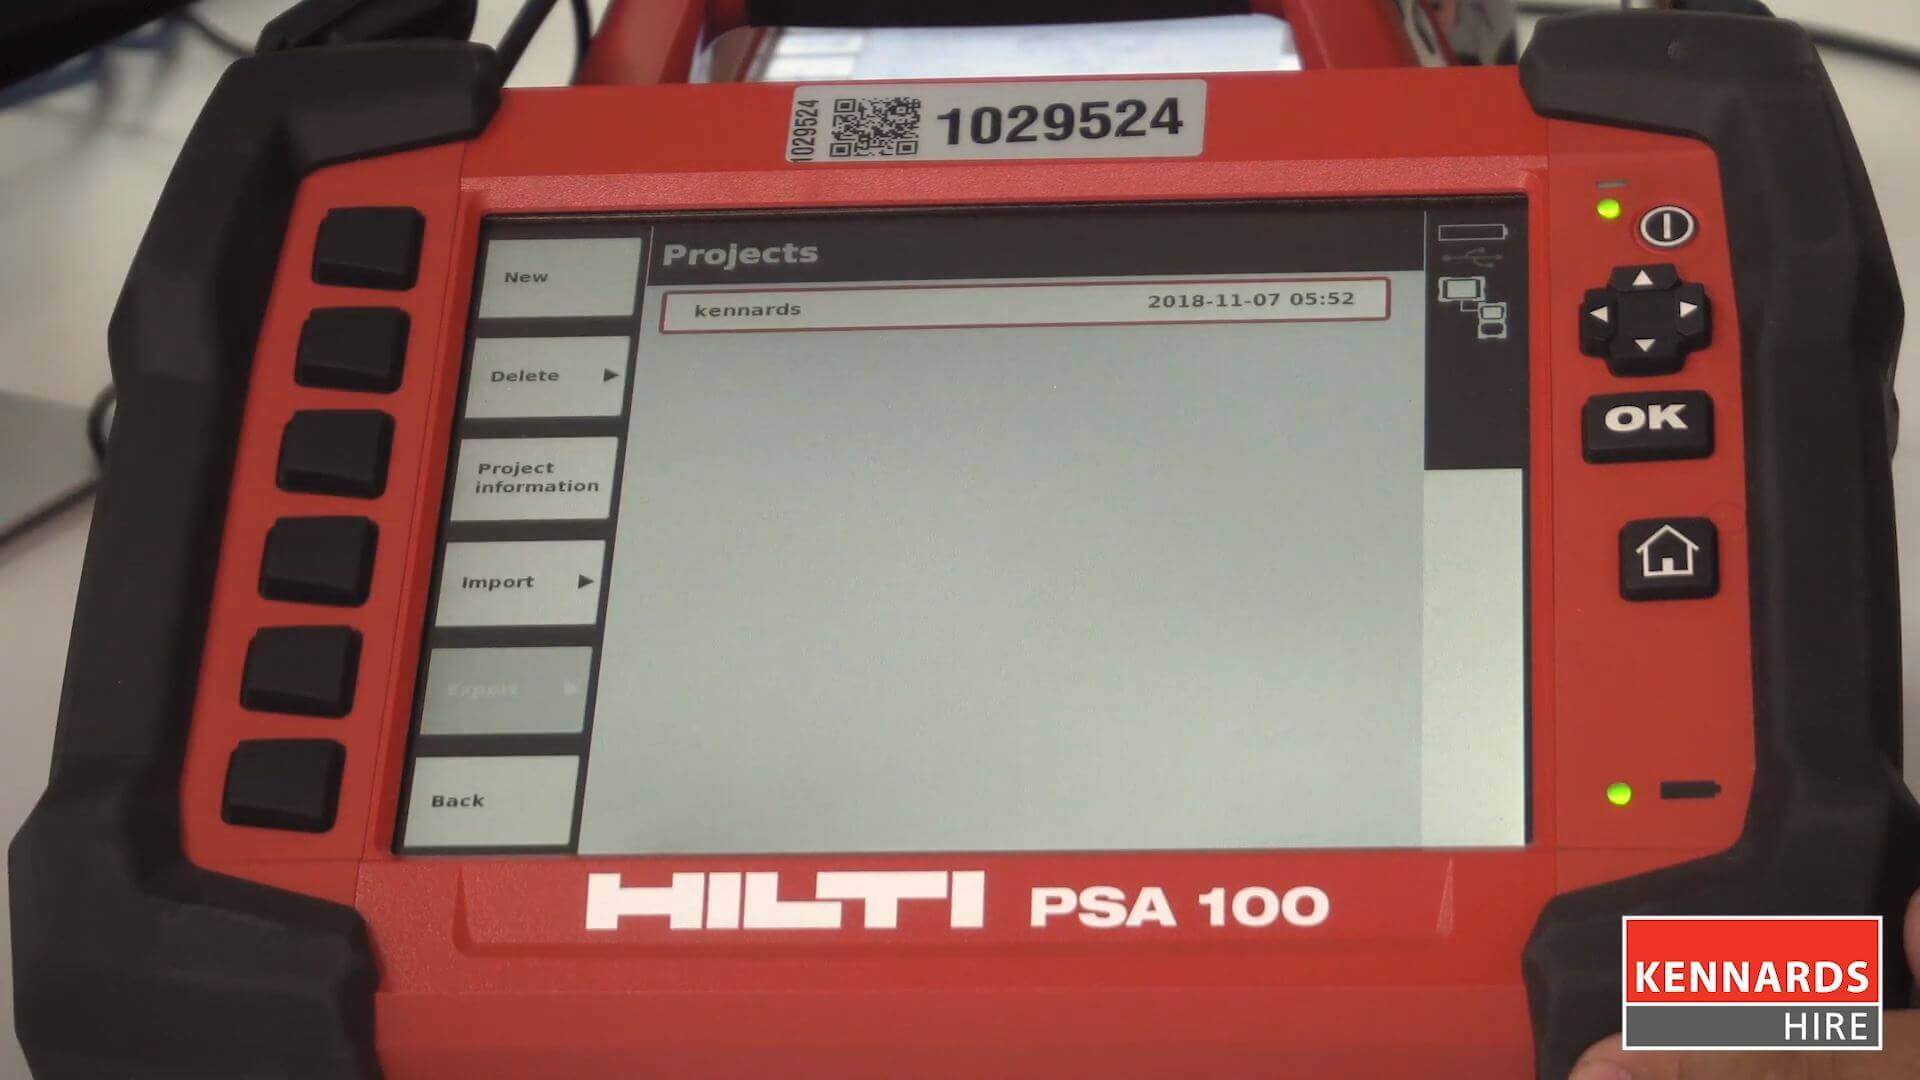
Hook up the tablet to the PS1000 and switch it on. Next select the ‘Projects’ button, then ‘New’. Type in a name for your project and enter it. While still in the ‘Projects’ tab, select ‘Import’ and it will ask you to select a device. Select ‘PS1000’ and click the ‘OK’ button.
The system will do its thing and import the data, then you will be shown a selection screen.
Step 3 - Chose the scan you want to analyse
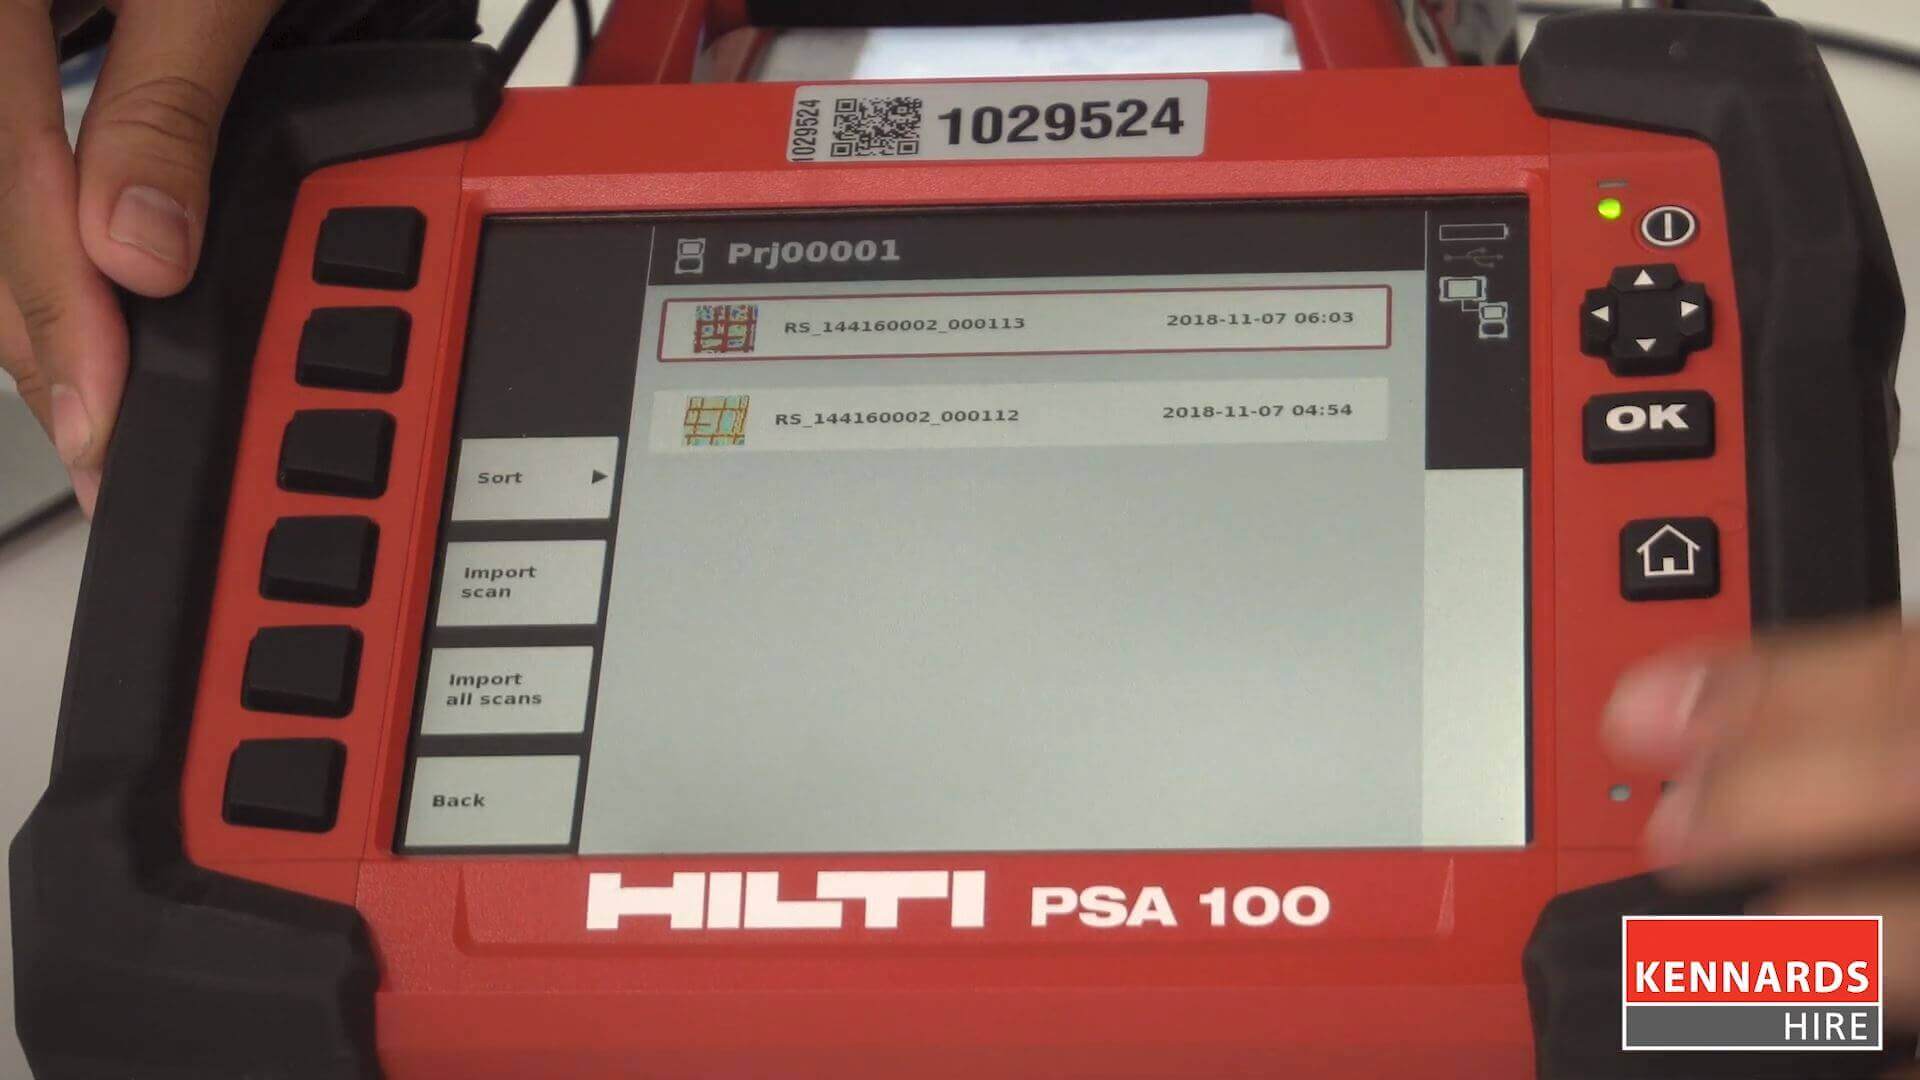
At the top of the screen will be the name of the project currently chosen, and below it all the relevant scans from your PS1000.
Use the D-pad above the ‘OK’ button to cycle through the list of scans and select the one you want. Click ‘Import scan’ on your chosen scan and then choose either ‘Yes’ or ‘No’ when asked to delete the imported data on your scanner. Note that selecting ‘Yes’ will only delete that data from the PS1000, not the PSA100 tablet you are using to review the scan.
Do not separate the tablet from the scanning device at this time.
Step 4 - Return to projects to begin analysing
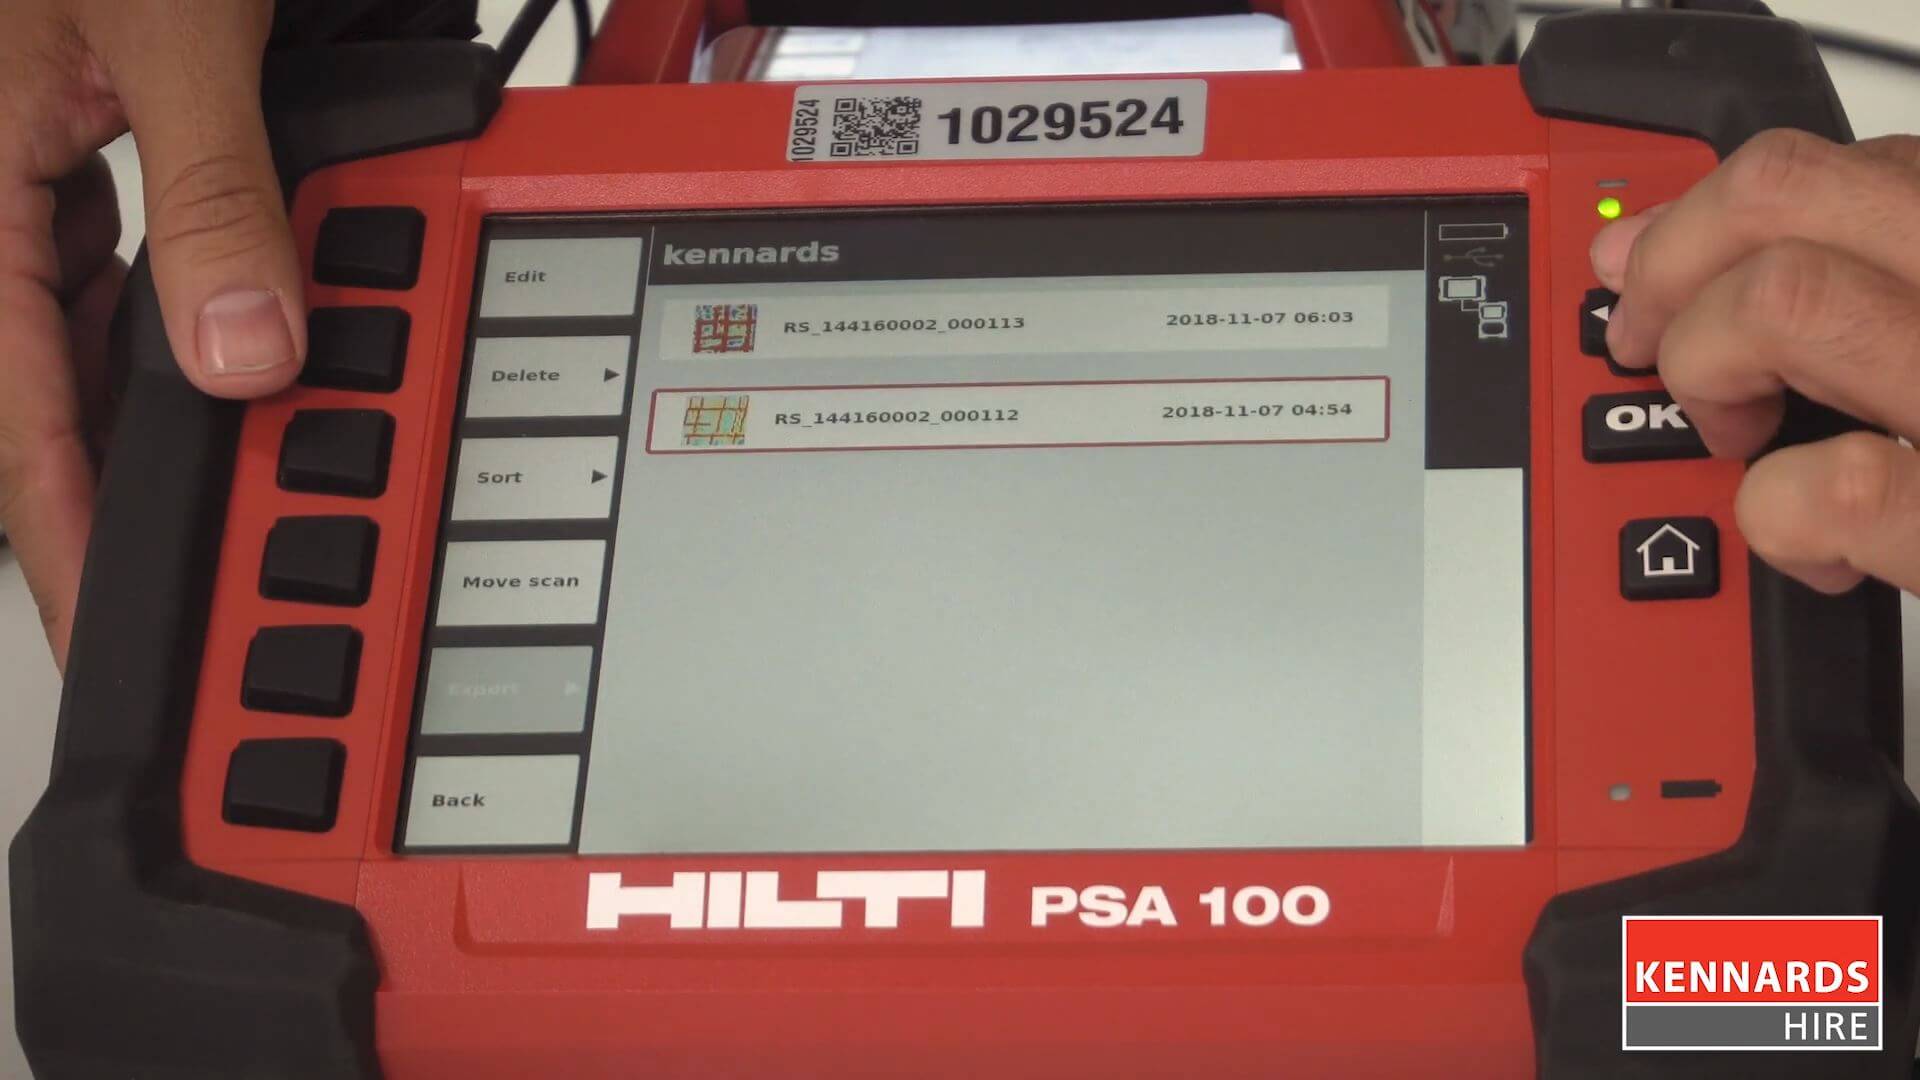
At the top of the screen will be the name of the project currently chosen, and below it all the relevant scans from your PS1000.
Use the D-pad above the ‘OK’ button to cycle through the list of scans and select the one you want. Click ‘Import scan’ on your chosen scan and then choose either ‘Yes’ or ‘No’ when asked to delete the imported data on your scanner. Note that selecting ‘Yes’ will only delete that data from the PS1000, not the PSA100 tablet you are using to review the scan.
Do not separate the tablet from the scanning device at this time.
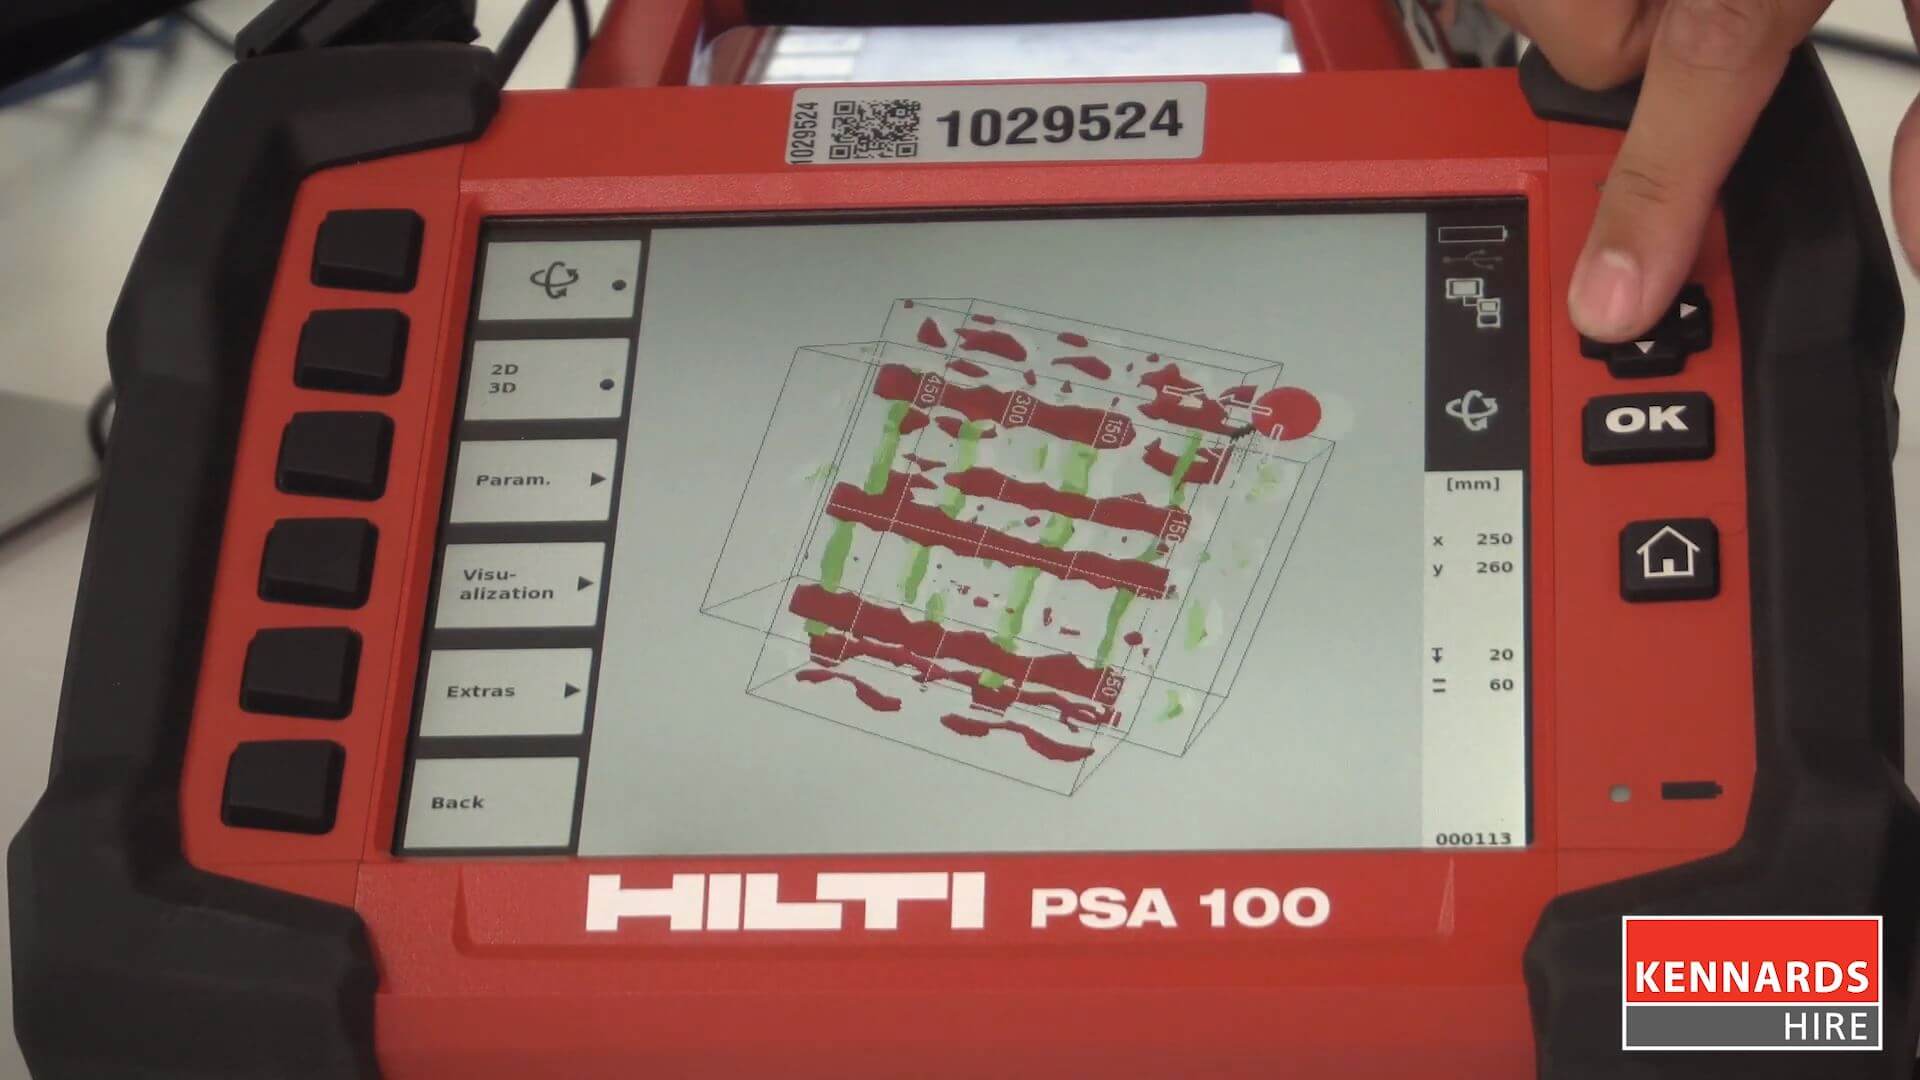
Step 5 - Review scan in 2D or 3D
You’ve now opened up a scan and will recognise the familiar ‘heat map’ image from the Hilti PS1000. This is where you will conduct all your analysis.
The default mode is 2D, but by clicking the ‘2D/3D’ button you can switch to a three-dimensional view. Navigate the scan with the D-pad to see what’s underneath the slab.
Step 6 - Use visual augmentations to your advantage
You can manipulate the data further by selecting the ‘Visualisations’ button, with options for cut plane, cross-section, colour scheme, contrast and grid.
Want more information on how to use the PSA100 to analyse data? Visit your local branch, and check out our full range of test and measure equipment for your next job.