
Your DIY Guide To Floor Tiling
Get Inspired
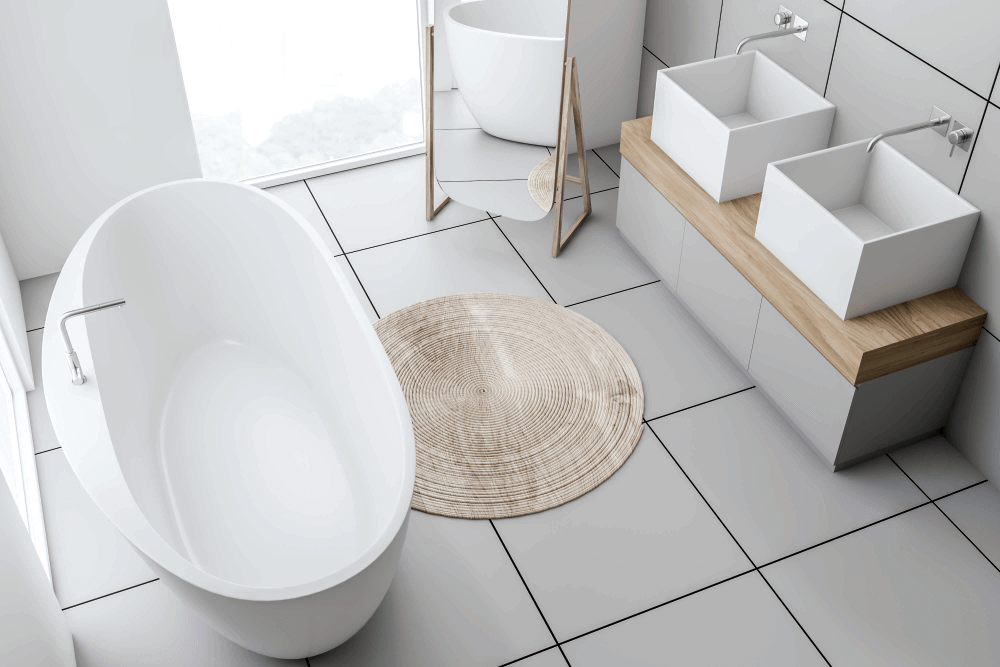
Tiles can look drab and become discoloured over time and if they are in need of more than just a good clean, you may want to consider retiling the area.
While every tiling job is different, there are a number of common considerations that should be kept in mind. So follow the steps below to ensure your tiling DIY project goes smoothly.
Measuring and preparing
Before purchasing any tiles, it’s a good idea to allow an extra ten per cent of tiles for breakages, wastage, and off-cuts. This way you won’t be short when measuring and cutting edge tiles or in the case of accidental breakage and need for replacement.
Assuming the old flooring has been removed and levelled, it’s important to ensure the subfloor is dry and clean. A vacuum will make quick work of this task.
Laying out a row of tiles dry will be helpful when calculating how many tiles you will need to glue, where and what tiles you will need to cut, and where your reference (datum) line for tiling should begin.
Some walls can be out of line and uneven, so drawing a straight reference line out from a wall, called a datum line, can be used as a reference throughout the project to ensure the finished product is lined up perfectly and straight. To do this pick two points on a chosen wall and measure out from the wall the same distance from both points. Draw a straight line using the two points out from the wall as a guide and you have your datum line.
Mixing adhesive and gluing the tiles
The next step is to mix together the adhesive that will be applied to the prepared floor directly where you’ll place your tiles. Make sure you have an efficient mixing system and mix in the required amounts to create the glue to a toothpaste consistency.
With a tiling trowel apply glue to a small section of the prepared floor, this way the glue won’t dry up if you don’t reach everywhere you have applied glue. With a notched trowel, begin to rake the adhesive in a one way direction, either horizontally or vertically, to create a set depth of glue for the tile. By raking only in one direction you’re able to maximise the amount of support the glue allows and overall strength of the tile, ensuring your tiles have the best chance of not breaking from direct impact.
Place the tile on the adhesive, inserting spacers (1.5mm is standard) between tiles for a consistent gap, which will later be filled with grout solution.
Cutting your tiles
Once you have reached an area which requires you to cut a tile, you will need to measure the distance from the next closest layed tile to the wall. Subtract the spacer measurement to account for the even gap.
Once measured, you can use the electric tile cutter to efficiently cut the tiles. If you’re working in a confined space, move outside so the room stays clear of dust. For an easy to follow guide on how to use a tile cutter click here.
In the case of having to cut a hole for drainage, around piping, etc. an angle grinder will allow for maximum maneuverability and precision to get the right fit. If you’re tiling in an enclosed space, be sure to complete this step outside as well.
Grouting and cleaning
Grout is used to fill the gaps you’ve left with the spacers. Follow the advice from the manufacturer’s instructions on the grout mixture you’re using to mix your grout solution. Be sure to mix the grout every now and then to stop it from separating.
Using a squeegee, direct the grout in the gaps between tiles making sure to fill them up. Move the excess grout over to other gaps or scoop excess back into the bucket of grout.
As you’re going to keep your project site clean, wipe off excess grout with a sponge and clean water. A tip for cleaning the excess off is to wipe at a 45 degree angle across gap. This way any grout in gaps won’t be soaked up.
Leave the floor for 24hours to let the glue set and the grout dry after all cleaning is complete. Your newly levelled and beautifully tiled floor is now ready for use!
Need some help with paving?
For expert advice and the right equipment, talk to the team at your local branch.