How to restore your timber furniture and decking
Get Inspired
A timber deck and wooden furniture are part of the great tradition of outdoor living and entertaining, but time and our harsh climate can take a toll.
Let’s look at how to rejuvenate them with a bit of sanding, and re-coating with a protective finish.
Restoring timber furniture
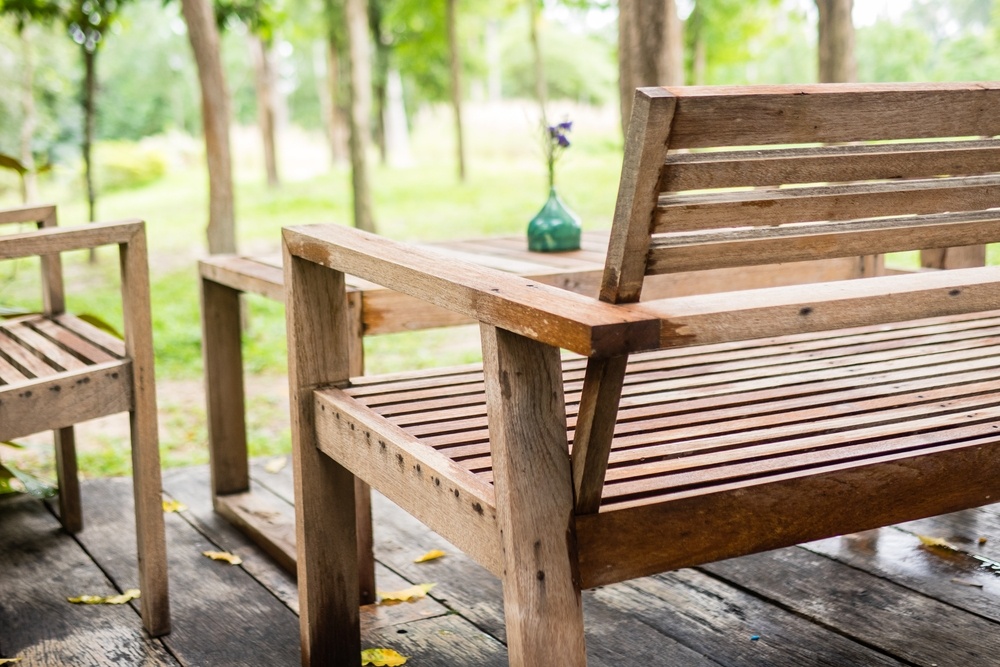
If the furniture is dirty, clean it with a suitable timber cleaner and allow it to dry before any further work. Old paint or varnish needs to be removed or the surface will look scruffy. A flexible sanding block is ideal for this, as you’ll be able to easily work around tight spots. For larger surfaces such as legs, arm rests or table-tops, use an orbital sander.
If you have a lot of old paint or stain to remove over a large area, consider hiring a belt sander, but do be aware that it can quickly remove 1mm or more from the timber surface!
Once clean and sanded, dust down and paint with your preferred timber oil or other timber treatment.
Restoring timber decks
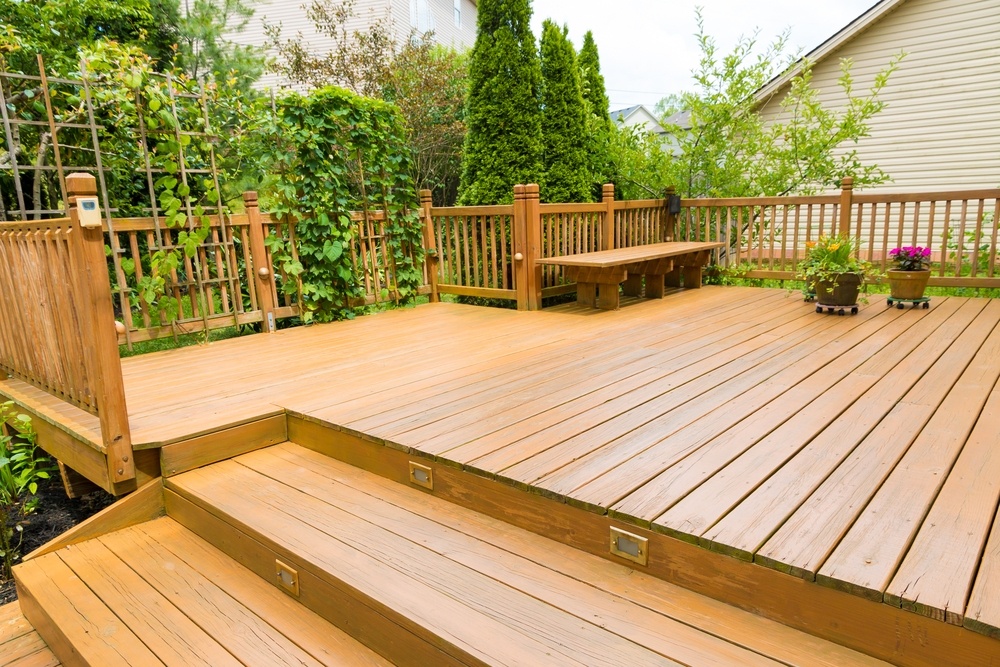
Your decks really take not just the worst of the weather but also the wear and tear of foot traffic, dragging of furniture, damp plant pot bottoms and the inevitable decline over time.
Re-coating timber decking is generally recommended at least once every couple of years. As they say, do it once and do it well, and the most you’ll have to do every couple of years is a quick touch-up.
The first stage with rejuvenating your deck is to clean it. Remove loose debris and if timber is conspicuously stained with ingrained dirt, clean with a suitable timber cleaner and allow to dry before any further work. Using a pressure washer fitted with a rotary cleaning head is the ideal preparation pre-painting. Be careful when using pressure cleaners on treated pine decking. If the nozzle is held too close to the timber or you work against the timber grain, it can cause surface damage.
Ensure all the wooden boards are securely fastened. Look closely for any popped nails or loose screws. Use a nail punch to tap nails down below the timber surface, and a screwdriver to tighten up loose screws. If any are rusted, remove with pliers and replace
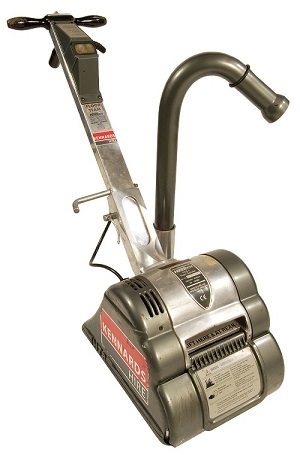
Depending on the condition of the deck, you may need to hire a floor sander.
However, this is quite an aggressive tool and the gentler action of an orbital sander may suffice.
Based on your situation, Kennards Hire staff will be able to advise you whether to use a drum sander or not.
Either way, you also need a floor edger to sand right to the edge of the floor beside walls, railings and posts. Be sure to vacuum or sweep away sawdust before re-coating.
You’ll find coatings and deck oils have recommended application methods so follow the instructions carefully. Most are best applied with a decking paint applicator, similar to a mop, to get maximum coverage. However, for larger decks consider using an airless sprayer if your paint type is suitable.
Weather to proceed or not
One point to remember is that if you try to do any of these tasks on a very windy day you are going to get poor results. Dust, hairs and other debris blown on to the surface will give it a rough appearance.
If you choose a fine, clear day, the deck should be touch dry in a one to two hours, but it’s best not to walk on it for four to six.
With these tips you can keep your deck in good shape all year round. It does take preparation, so be careful not to rush into it. If you do, you are likely to get a poor result, become frustrated and perhaps even give up.
If you need help with any of the tools or techniques described here, talk to your local Kennards Hire team. There’s always someone on hand to give advice on your DIY project.


